|
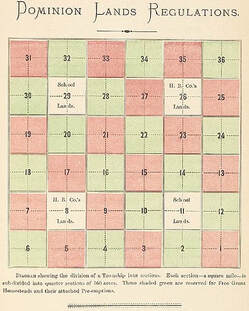
Walking in the footsteps of your ancestors is something few people can rarely say they’ve done, but it’s one of the most poignant experiences you can have. With technology, it’s easier than ever to stand where those who came before us have stood. Google My Maps is a valuable tool to visualize your research findings while making your family history come to life. With Google My Maps, you can plan the best close-to-home Manitoban summer trip that you won’t soon forget! If your ancestors were city dwellers, you may not need much investigation to find where your family called home, but for those with ancestors who lived in rural Manitoba, it’s a bit trickier. These steps will take you through how to use land descriptions from historical records to locate that land on modern maps. Rural land division in Manitoba is organized in two ways, the township grid system, or the parish/river lot system. When looking for the piece of land your family called home, searching for the legal land description is key. The legal land description can be found in the records like censuses, land records, or estate records, to name a few.
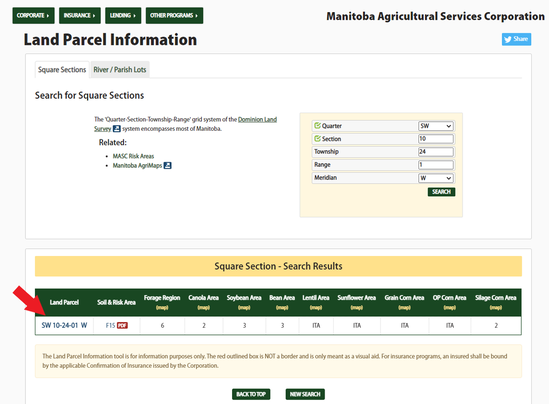
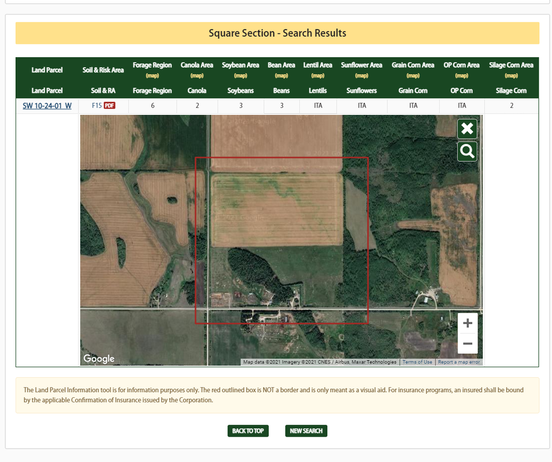
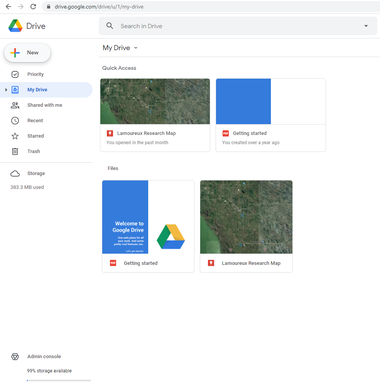
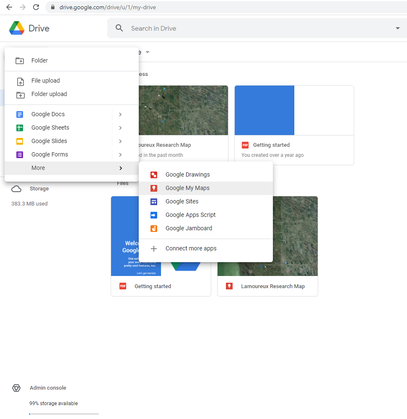
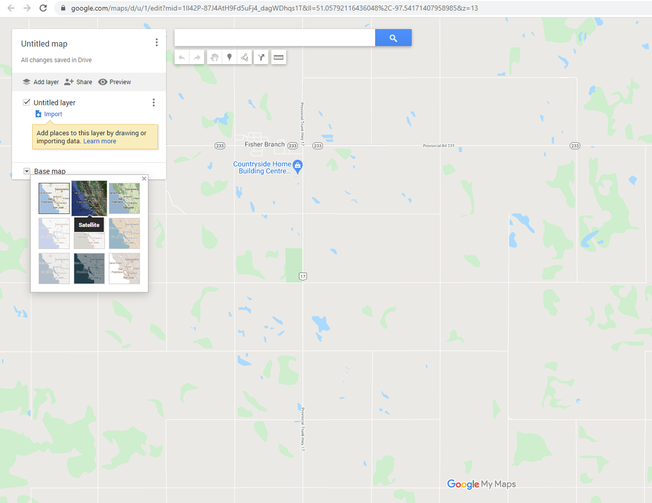
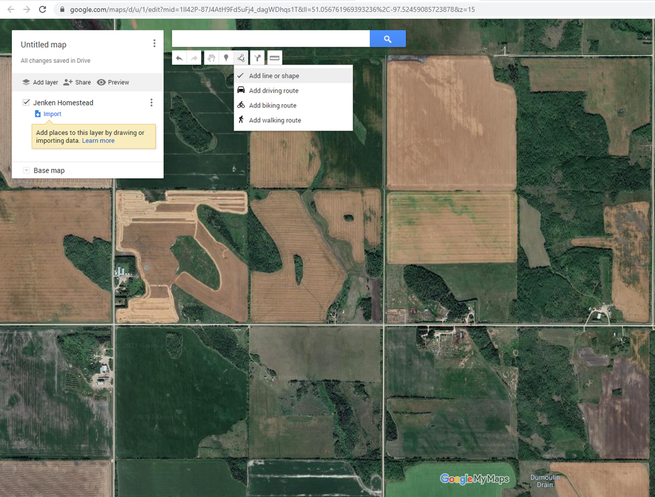
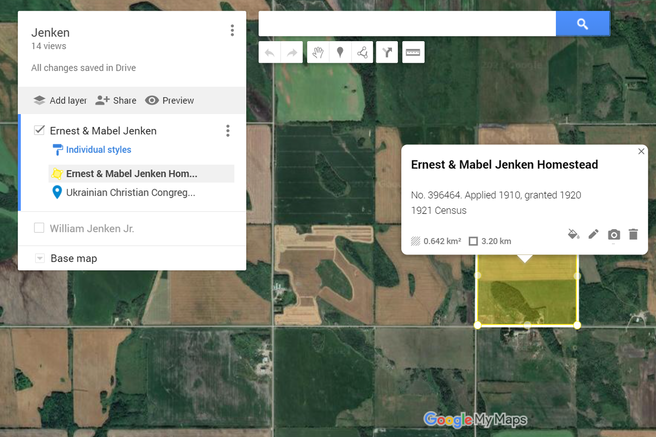
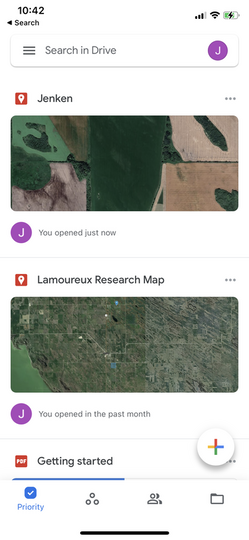
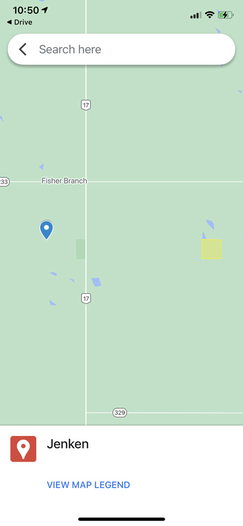
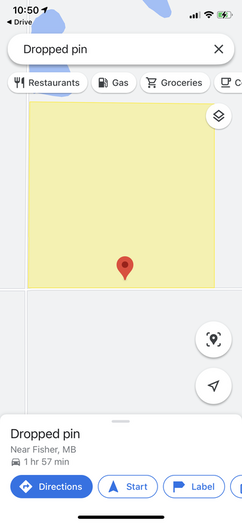
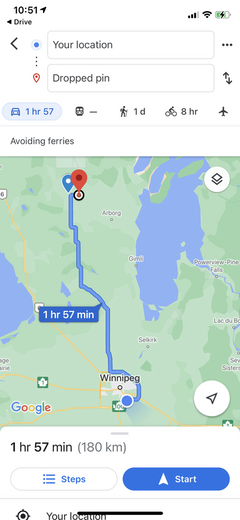
Parish lots or river lots are based on the French seigneurial system. These lots are long and narrow and offered equal access to valuable resources like roads or water. In Manitoba, this system is mainly found around the Red and Assiniboine rivers. More information about land division and available land records can be found at FamilySearch or LAC. Now that you have found the legal description of the land in records, you can locate it on modern maps. I have found that one of the easiest ways to pinpoint the tract of land on a map is by using Manitoba Agricultural Services Cooperation (MASC). Their website allows you to search legal land descriptions, returning results outlining the piece of land on their map. I primarily use this for finding square sections but some river/parish lots can be found here as well. 1. Use the drop-down menu on the MASC website to search your land parcel. Click on the land description. Now using Google My Maps, we can save this information and revisit it anytime using these next steps. 2. Open a new widow or tab and sign into your Google account. 3. Go to your Google Drive and click “New”. 4. Hover over “More” and select “Google My Maps”. 5. Orient yourself using the MASC website’s map and find the approximate area on Google My Maps by using roads and landmarks. 6. Once you’re in the right area, change the map to “satellite” view. This will help you to see the quarter sections more clearly. 7. When you have found the quarter section, you can mark it using the “add a line or shape” feature. This tool will allow you to draw a square marking the quarter section where your ancestor lived. 8. Click on the pencil icon to name the feature. I like to add the names of the ancestors who lived there for easy recognition. You can also add details in the description like a homestead grant number, the year they were living on the property, or any other relevant information to your project. 9. Colour code your map for easy identification using the paint can icon. This is a great way to differentiate family groups or different family branches if they all lived in the same area. 10. Add other important places like churches, schools, etc., by clicking “add marker” to include even more detail to your ancestor’s life story. The way you organize your map is customizable based on your goal. Now that your Google My Maps has been created, you’re ready for a road trip. Using your phone or other device, access your map on the Google Maps app. Drop pins by pressing and holding your finger to your first stop and click directions. Whether you use this tool in your research, to share your family history, or as a fun interactive way to explore your roots, incorporating Google My Maps is an easy and fun way to elevate your family history.
0 Comments
Leave a Reply. |
AuthorI'm Jessica Landry, a professional genealogist based in Winnipeg, Manitoba. ArchivesCategories |
NAVIGATE |
INFO |
|

 RSS Feed
